When your gauge doesn't match the pattern
You swatched, you blocked, you measured, and your gauge does not match the pattern. This is normal, and it is fixable. You have three good options: change needle size to hit the stated gauge, knit a different size that lands at the measurement you want, or keep your gauge and convert the pattern's counts to it. Here is how to pick.
First, trust your swatch
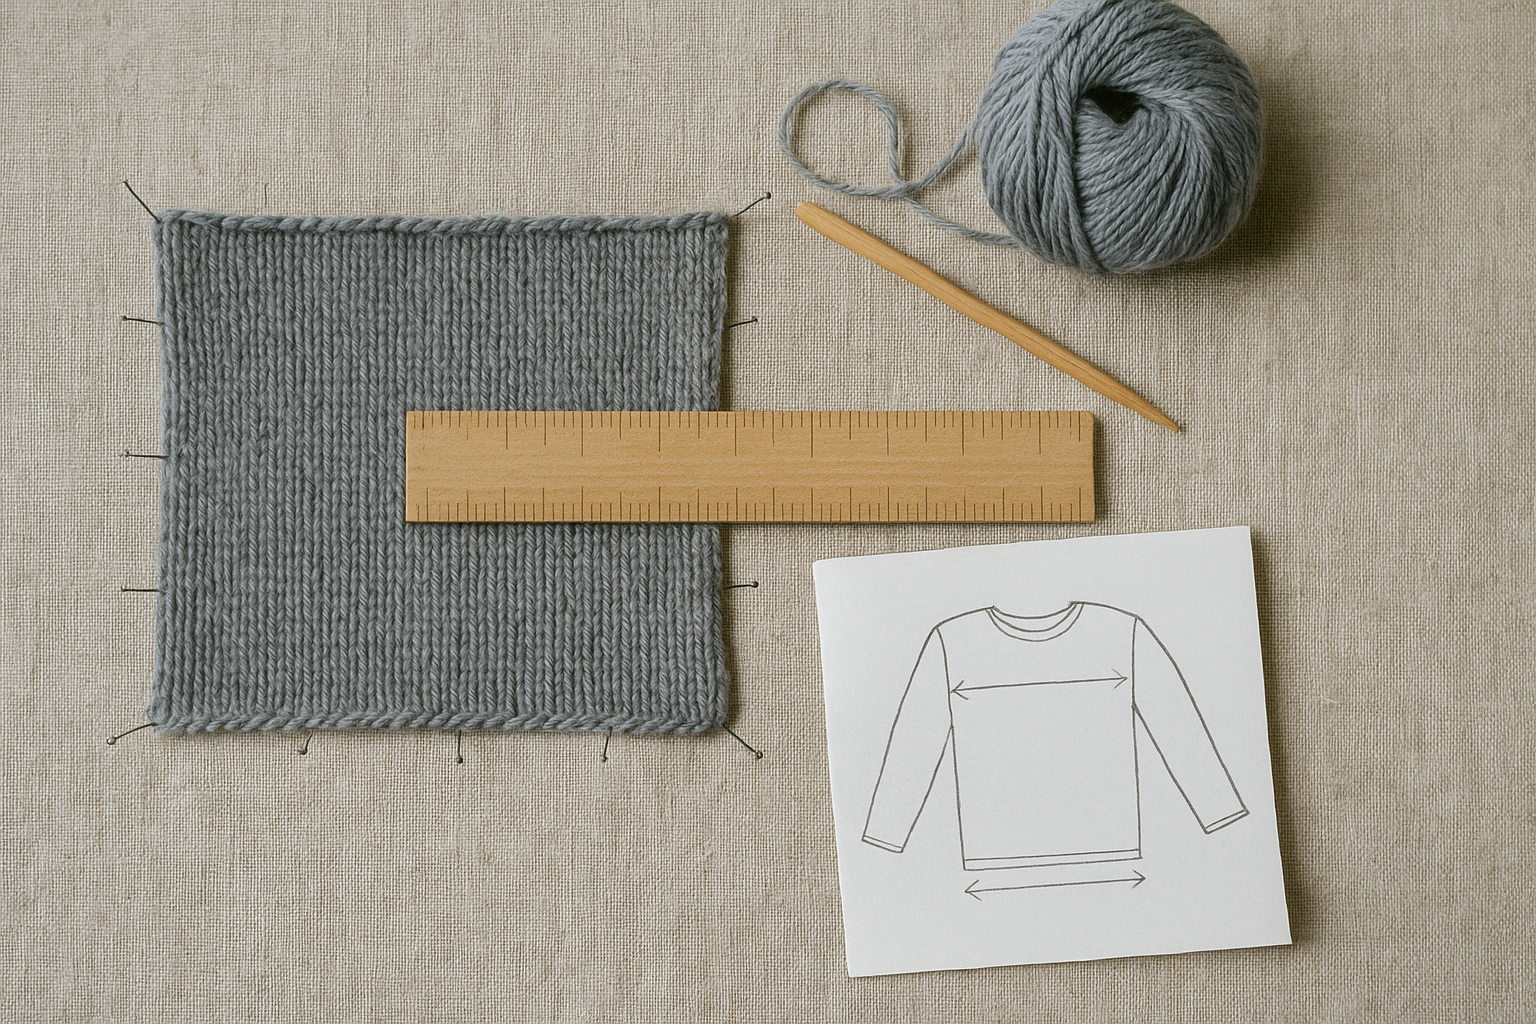
Before you change anything, make sure the gauge you measured is real. Knit a generous swatch, at least 15 cm or 6 in square, in the actual pattern stitch, then block it the way you will block the garment and measure across the middle, away from the curling edges. A swatch that is too small, unblocked, or measured at the edge gives a number that lies, and you do not want to solve a problem that is not there. If you are unsure, read how to measure knitting gauge and the common gauge swatch mistakes first.
Option 1: change needle size
The classic fix. If your swatch has too many stitches per 10 cm, your fabric is tighter than the designer's, so go up a needle size to loosen the stitches and bring the count down. Too few stitches means your fabric is looser, so go down a size to tighten it. Change one size at a time, then swatch and block again. Two or three swatches to land on gauge is normal, not a failure.
Needle size changes both stitch and row gauge at once, and not always by the same amount. You might hit stitch gauge perfectly and still be off on rows. When that happens, match stitch gauge with the needle and handle the row difference with one of the other two options below.
Method: standard hand-knitting gauge adjustment, as taught in Vogue Knitting and Craft Yarn Council guidance.Option 2: knit a different size
The fastest fix when you cannot or do not want to match gauge. Instead of forcing your needles to the pattern's number, find the size whose cast-on count, worked at your gauge, produces the finished width you actually want. You then knit that size exactly as written, no math, accepting only that the size on the label no longer describes you.
Say a pattern is written at 20 stitches per 10 cm and you get 22. The medium casts on 200 stitches for a 100 cm chest. At your tighter gauge those 200 stitches measure about 91 cm, closer to the small. So if you want a 100 cm chest, look at the size that casts on around 220 stitches instead. The knitting gauge calculator turns each size's cast-on into the width it makes at your gauge, so you can pick the one that fits.
Option 3: convert the pattern to your gauge
The fix that keeps both your gauge and your size. You leave your needles where the fabric feels right and recompute the pattern's counts for your tension. Each stitch count becomes the pattern's count times your stitch gauge divided by the pattern's; each row count uses the row gauges the same way. The finished measurements stay exactly what the designer intended, in a fabric that is yours.
A pattern at 20 stitches per 10 cm casts on 100 stitches for a 50 cm width. At your gauge of 22 per 10 cm, you convert: 100 times 22 divided by 20 is 110 stitches, which again measures 50 cm in your fabric. Every width in the pattern converts by the same ratio.
Method: standard adjust-for-gauge resize (Ann Budd, The Knitter's Handy Book of Patterns).Converting by hand is doable but tedious, and every rounded count drifts a little from the target width. The knitting gauge converter does the arithmetic and shows the real finished size each rounded count produces, so the drift is honest rather than hidden. For a whole multi-size pattern with shaping, the pattern grading generator recomputes every size at your gauge in one step, with the increases and decreases spread evenly.
Which fix should you use?
If matching the designer's fabric matters, for a textured stitch or a specific drape, change needle size. If you just want it to fit and you like your fabric, knit a different size. If you want both your fabric and the exact intended size, convert the counts. Many knitters use a mix: a needle change to get close on stitch gauge, then a small conversion to settle the row counts and the lengths.
Sources
- Craft Yarn Council, Standard Yarn Weight System and gauge guidelines (craftyarncouncil.com).
- Ann Budd, The Knitter's Handy Book of Patterns, Interweave: adjusting counts for gauge.
- Vogue Knitting: The Ultimate Knitting Book, on resizing and gauge adjustment.
- TECHknitting, on swatching, blocking, and reading gauge accurately (techknitting.blogspot.com).
Frequently asked questions
What does it mean when your gauge does not match the pattern?
It means the number of stitches and rows you knit over 10 cm or 4 in differs from the gauge the pattern was designed at. Since every stitch count in the pattern was set for the designer's gauge, knitting at yours makes the finished piece a different size than the pattern intends.
Should I go up or down a needle size?
If you are getting too many stitches per 10 cm, your fabric is tight, so go up a needle size to loosen it and reduce the stitch count. Too few stitches means the fabric is loose, so go down a size to tighten it. Change one size at a time, then swatch and block again.
Can I just knit a different size to match my gauge?
Often yes, and it is the quickest fix. Find the size whose cast-on count, knit at your gauge, lands closest to the finished measurement you want. You knit the pattern exactly as written for that size, with no recalculating, accepting that the size label no longer matches.
How do I convert the pattern to my gauge instead?
Multiply each stitch count by your stitch gauge divided by the pattern's, and each row count by your row gauge divided by the pattern's, then round to whole numbers. The gauge converter does this for you and shows the finished-size drift so the result stays honest.
Does row gauge matter if my stitch gauge matches?
Yes. Stitch gauge sets width and matters most, but row gauge sets length and the spacing of shaping. If your row gauge is off, the body length, armhole depth, and the placement of increases and decreases drift, so check and convert both.